Ah, the sweet smell of cookies baking in the oven. You know what that delicious sugary scent means—it’s almost holiday-time! Instead of going it alone (who wants to hang out in the kitchen, slaving over a hot stove by themselves during the holidays anyway?), get your child in on the baking action. From the recipe itself to prepping, baking, decorating, and even giving the cookies away, your culinary kiddo can help with almost every step of the process.
Your grandma handed down her favorite recipe to you. Now you make her world famous (or at least family famous) sprinkle cookies every December. Before the baking begins, take some time and review the recipe with your child.
This doesn’t necessarily mean that you’re giving them the go-ahead to do everything. Instead, use this time as a learning opportunity. As you go through each ingredient ask your child to name the first letter. “F” is for “flour”, “s” is for “sugar”, “e” is for “eggs” and so on. If your child is able to read a few of the words, ask her to read the recipe (or parts of it) to you.
Write out a holiday cookie shopping list—letting your child help! They can write the letters, the words or draw pictures of each ingredient. Take the list to the grocery store and let your little helper assist in picking out the specific ingredients.
Play a game of “eye spy” and have your child hunt for each item as you walk through the aisles. They can search for and find the names (or look at pictures on packages) for all of your cookie ingredients. If there are parts of the recipe that are open to interpretation (such as the color of the frosting or the shape of the sprinkles) let your child choose!
This might be the first time that your child has baked anything. Okay, so they’re not going to use the oven by themselves—or at all, for that matter. But, you can let your child measure and mix the ingredients. Get some math time in and have your child weigh out each item or help her to use cup measures and measuring spoons.
As you’re baking you can also try a science exploration. How? Start with the scientific process. Hypothesize what will happen when you mix ingredients together or when you put the mushy almost liquid-like cookies into the oven. Observe the cookies as they bake, and then analyze the results. Ask your child a few open-ended question, such as, “Why do you think the cookies changed shape?” or, “What do you think would have happened if we didn’t bake the dough?”
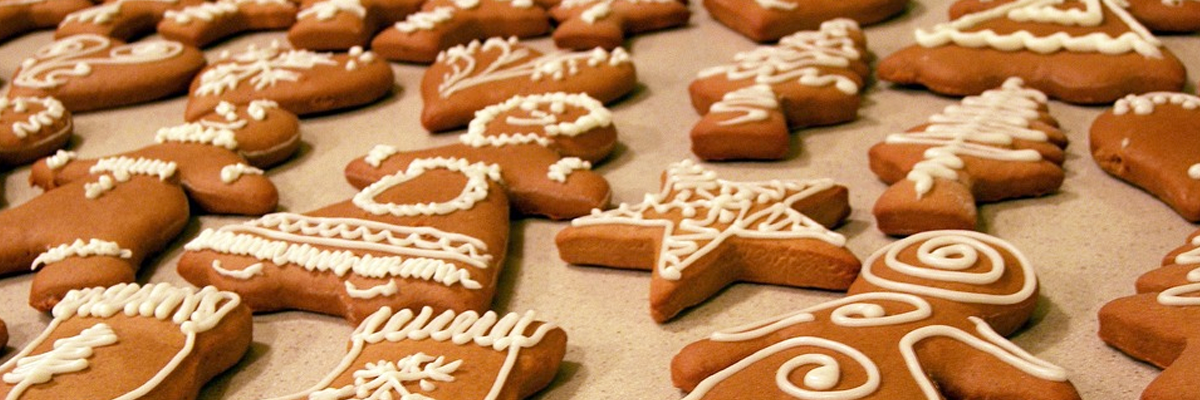
After the cookies have baked (and cooled) it’s time to get artsy. Whether you’re all about icing or your child has chosen a variety of holiday-themed sprinkles (think holly leaves, jingle bell shapes or mini Christmas trees), let your top-chef helper get as creative as they want.
Frost those cookies, add the sprinkles or use candies for an extra special touch. Your child can help you to come up with a theme or decide to decorate each holiday cookie differently. If you’re giving the cookies out as gifts, you can personalize them too! Have your child write the cookie recipient’s name or first letter (of the name) with icing.
The cookies are baked and decorated. Now what? It’s time to display them. If you’re keeping them at home, plate the holiday treats on a festive platter or arrange them artistically. But, if you’re giving them away, it’s time to get crafty.
Your child can decorate a box by drawing a holiday scene on the outside. You can also use plain takeout containers (the folded kind, like you would get at a Chinese restaurant). If you don’t want to box the cookies up, brainstorm other gift-giving ideas with your child. This might include putting the cookies into a decorative baggie or creating a holiday gift basket.
What’s next? It’s time to get baking! Grab your favorite family recipe (or the most Pinterest-worthy one you can find) and introduce your mini-chef to the kitchen.
Ready to record that recipe you just made? Save all your recipes (in kid-friendly form) for years to come in a custom board book!


